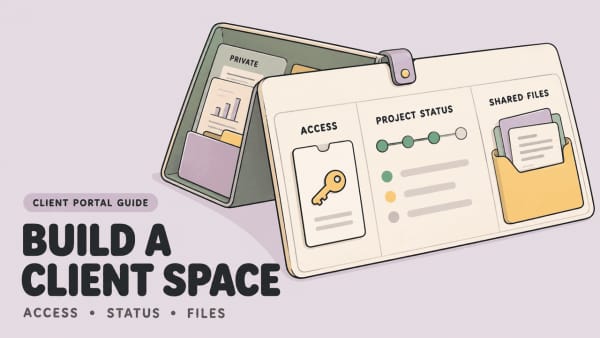
A client onboarding checklist is not paperwork for its own sake. It is the thing that keeps a promising new client from turning into three weeks of "Where is that file?" "Who approved this?", and "I thought someone else had the login." For agencies, consultants, coaches, and small service teams, onboarding is where delivery either becomes calm or starts leaking context.
When I was writing this article, I happened to be helping a new client clean up a messy handoff left behind by their previous agency. The checklist below is the version we actually use now. Use this new client onboarding checklist template as a working example. Replace the owners, dates, status, and evidence with your own client details.
Client Onboarding Checklist at a Glance
Every checklist item should have four fields: Owner, Due date, Status, and Evidence. Status shows where the item stands, such as Not started, Waiting on client, In review, Done, or Blocked. Evidence is the proof that the step happened.
| Checklist item | Owner | Due date | Status | Evidence |
| Confirm scope and deliverables | Account lead | Before kickoff | Waiting on client | Scope approval requested |
| Confirm client contacts | Project owner | Before kickoff | Done | Contact list confirmed |
| Confirm decision maker | Account lead | Before kickoff | In review | Approver name pending |
| Send agreement | Operations | Before work starts | Done | Signed agreement |
| Set billing method | Finance | Before delivery | Waiting on client | Deposit invoice sent |
| Create communication channel | Project owner | Before kickoff | Done | Shared channel created |
| Request required assets | Delivery lead | Kickoff week | Waiting on client | Asset folder shared |
| Request required access | Delivery lead | Kickoff week | In review | Access list checked |
| Record risks and assumptions | Project owner | Kickoff week | Done | Kickoff notes saved |
| Confirm first milestone | Delivery lead | After kickoff | Done | Milestone date approved |
| Close missing items | Project owner | Before execution | Blocked | Waiting for analytics access |
| Move project into delivery | Delivery lead | After onboarding | Not started | Delivery board not opened yet |
Before the Kickoff
Confirm Scope, Contacts, Dates, and Responsibilities
Start with the unglamorous questions. What exactly did the client buy? What is excluded? Who can approve work? Who receives billing messages? Who gets copied on delivery updates?
This is one of the simplest client onboarding best practices, but it saves real pain later. If a client says "our team will review it," ask for one named approver. If the project has multiple departments, list who owns brand feedback, legal feedback, technical access, and final approval. Friendly vagueness feels nice in sales. It is expensive in delivery.
Prepare Agreements, Billing, and Communication Channels
Before the kickoff, send the agreement, deposit invoice, payment instructions, vendor forms, and main communication channel. If the work cannot begin without a signed agreement or paid deposit, say that before the meeting.
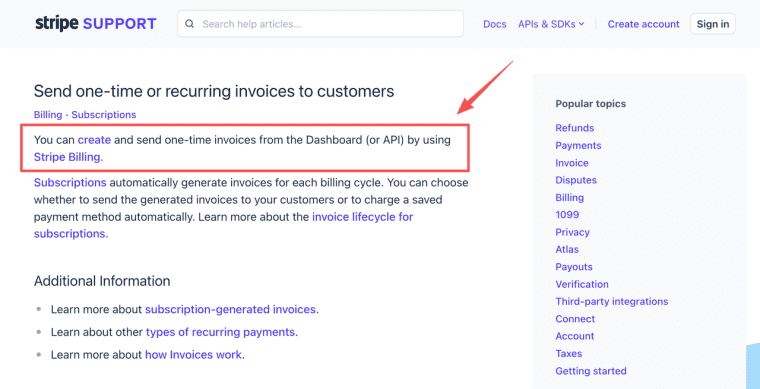
Keep billing evidence close to the project record. For teams using Stripe, invoices can support one-time or recurring customer billing records, but the operational habit matters more than the tool: the project owner should know whether payment is ready, pending, failed, or not required.
During the Kickoff
Align Goals, Decisions, Risks, and Next Actions
A kickoff is useful only if it creates decisions. Confirm the business goal, target audience, timeline, first milestone, review rhythm, and known risks. Then assign the next actions while everyone is still in the room.
Last year, we had a design client who was still asking, two weeks after kickoff, "Who actually has final approval on the logo?" We had only written, "The client will review," and it ended up causing three rounds of rework. After that, we made it a rule to assign one named approver and require feedback within two business days. On projects of a similar size, first-week communication dropped by about 40%.
Access, Data, and Asset Collection
Request Only What the Work Requires
Ask for the least access needed to do the work. If you need brand files, do not request admin access to every system. If you need a report export, do not ask for the full customer database.
That is both polite and safer. Business privacy guidance around collecting only the information needed for the work is a useful reference when designing onboarding forms, shared folders, and client portals. A client onboarding checklist template should include what is requested, why it is needed, who can access it, and when access should be removed.
Record Owners, Deadlines, and Completion Evidence
Access requests are where teams quietly lose time. Someone shares a folder but not edit rights. Someone uploads a logo but not the source file. Someone sends a password in chat, and nobody wants to be the person who says that was a bad idea.
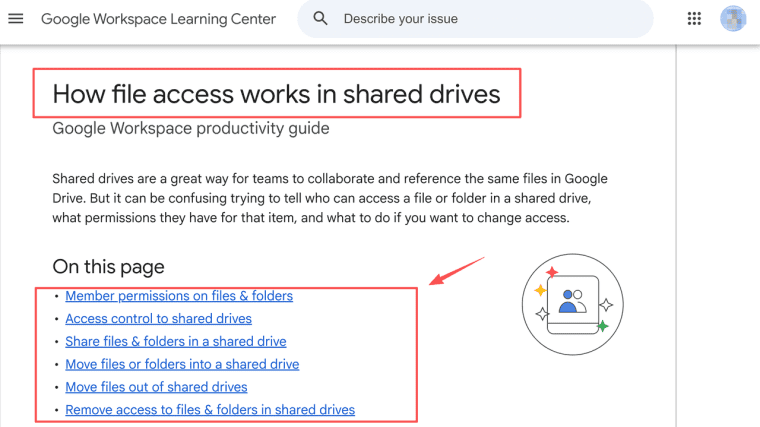
Track each request as its own item. Include the system, permission level, client owner, internal owner, due date, status, and evidence. If your team uses shared drives, file access can depend on shared-drive permissions, folder rules, and external sharing settings, so do not assume that "shared" means "usable by the right person."
Move the Client Into Delivery
Confirm the First Milestone and Review Rhythm
Onboarding ends when delivery can begin without guessing. Confirm the first milestone, what the client will see, who reviews it, how feedback should be given, and what happens if feedback is late.
For example, a design agency might define the first milestone as "three homepage concepts by Friday." A consultant might define it as "diagnostic report draft by next Wednesday." The milestone should be small enough to start momentum and specific enough to reveal whether the client is ready to collaborate.
Close Open Onboarding Items
Do not let open items float in chat. Mark each item as Done, Blocked, or Deferred. If something is blocked, write the impact. "Analytics access missing" is not enough. "Analytics access missing, so baseline reporting moves to next week" is useful.
If the client needs a central place for requests, files, approvals, and status, connect this checklist to a broader /best-client-portal-software/ review instead of forcing everything through email.
Turn the Checklist Into a Repeatable Workflow
A static checklist works when you have a few clients. Once the same steps repeat, it should become a workflow: intake fields, saved records, project status, reminders, handoff notes, and a clean client view.
This is the more natural HappySeeds fit. Instead of only using a generic app-building link, a service team can think about whether the checklist needs project organization, visibility, and shareable project links or saved app records for submissions, profiles, dashboards, comments, and other client data. HappySeeds may help test a lightweight onboarding workflow before a team invests in a larger custom portal. It should still include human review, because a workflow app clarifies responsibility; it does not remove it.

Limits and Common Failure Points
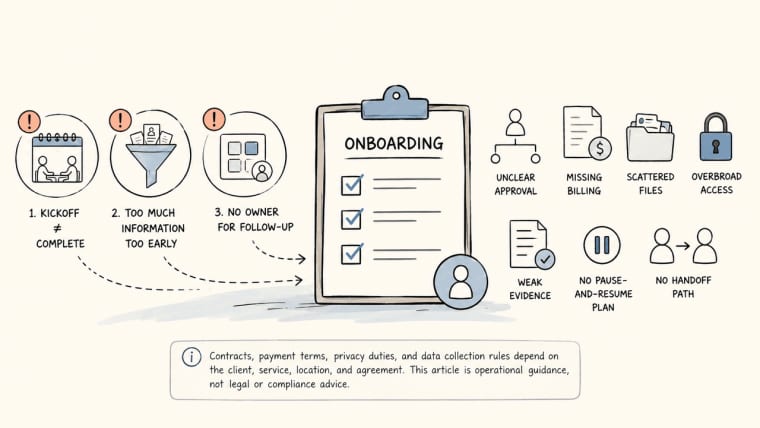
The biggest failure point is pretending onboarding is complete because the kickoff happened. The second is collecting too much client information too early. The third is using a tool without deciding who owns the follow-up.
Other risks include unclear approval authority, missing billing confirmation, scattered files, overbroad access, weak evidence, no pause-and-resume plan, and no handoff path when the account lead changes. Contracts, payment terms, privacy duties, and data collection rules depend on the client, service, location, and agreement. This article is operational guidance, not legal or compliance advice.
One of the biggest mistakes we made early on was treating kickoff as the end of onboarding. In one case, we were already a week into delivery when we realized billing still hadn't been confirmed, so we had to pause the project. Since then, we've required every item marked "Waiting on client" or "Blocked" to include a clear impact. If the impact isn't documented, the project doesn't move into delivery.
Make the First Week Boring in a Good Way
The best onboarding checklist makes work feel less dramatic. Everyone knows who owns the next step, what is still missing, and what proof has already been collected. Start with one practical template, tighten it after each client, and turn it into a repeatable workflow only when the pattern is real.
Explore More Topics:
FAQ
How should a team board a client who avoids new tools?
Use the lightest reliable path. If the client refuses a portal, keep one official email thread and have the project owner update the checklist after each decision. Do not punish the client for tool resistance, but do protect the record.
Does a referral client need a different checklist?
Usually not. The tone can be warmer, but the checklist should stay consistent. Referral trust does not replace scope, billing, access, approval, and evidence.
When should subcontractors enter the onboarding workflow?
Bring them in after their role, access needs, confidentiality expectations, and review responsibility are clear. They should not receive client materials just because they might help later.
How should paused projects resume onboarding later?
Restart from the checklist, not from memory. Reconfirm scope, contacts, access, billing status, timeline, and first milestone before delivery resumes.
Should onboarding forms be translated for every client?
Translate forms when language affects accuracy, consent, or delivery quality. If the client must provide legal, technical, or brand-critical information, unclear wording can create avoidable mistakes.